
Authored by: IVÁN GARCÍA in May, 2022.
Title: Webpack & Babel
What are they and how they can help you improve your applications
Code splitting, tree shaking, bundler, compiler. These are words that you have probably heard before. But we usually don’t realize how important these words are and how they can affect our development process and end result.
In this article we’ll dive into all these concepts by applying them using two awesome tools: Webpack and Babel. Keep in mind that Webpack and Babel are two different tools that solve different problems, so we’ll see what they are about separately and then how we can use them together!
What is Babel?
Do you like to use the new and cool JavaScript ES6+ syntax like arrow functions, object destructuring, spread operator, and many others? Me too, and it is thanks to Babel that we can use all JavaScript’s modern features and syntax without having to worry about browser support.
Babel is a compiler whose main functionality is to take modern es6+ JavaScript and transform it to es5, a version that every browser can understand.
Do you use React for Front-end development? React makes use of ES6+ JavaScript syntax, so Babel plays an important role by transforming that code into a version compatible for all browsers. How cool is the JSX syntax? Under the hood in a React application, Babel is also in charge of transforming all the JSX to code that Webpack can understand to then bundle the application for production!
What is webpack?
We mentioned that Babel helps Webpack understand the code so it can then produce the bundle/s. But what is Webpack? What is a bundle? Why is it necessary? How can it help us? Let’s answer these questions!
The short definition would be something like this: Webpack is a bundler that optimizes our code for production.
Now, what is a bundler? Here is the definition for this case: a bundler is a development tool whose function is to grab multiple code files and combine them into a single file that is called the bundle. Said bundle will be a production-ready file that in the case of JavaScript will be loaded and read by the browser.
Now that we have a clearer idea of what Webpack is, let’s take a look at what it does and how it can help you. Webpack uses different components (called loaders) to process entry files in order to convert them into output files (bundles).
Why should you use Webpack?
Webpack has many advantages that help us deliver an optimized version of our application to the client. Some main examples are:
- Tree Shaking: it ignores unused resources, for instance, if we are just using a module of a library it will not bundle the entire library, only the necessary parts. This helps to have a better code for production that will be better structured and will have a minimal file size.
- It gives us absolute control over resources processing: for example, we have the liberty to choose that small images will be included as Base64 format, thus we avoid downloads which helps make operations less expensive.
- It increases productivity in development: “Hot module replacement” is a feature that excludes the need of a full page reload when making changes, helping make the development process faster.
Great! We have talked about both tools and hopefully you now have a better understanding of them. Now let’s dive into the code examples, to put into practice what we have talked about.
We will look into the configuration for Webpack and how Babel can help Webpack process code that it does not understand by default.
Throughout the examples we are often going to use the concept of rules. Rules are instructions that Webpack will execute when creating modules. These rules can modify the output modules, apply loaders to them, etc.
All the Webpack configuration that we’ll cover will take place on a file that should be located in the root of your project, and have the name webpack.config.js.
There are countless things that we can customize on this file, but the basic configuration entries are:
- mode: can be set to production, development, or none. Webpack will apply different optimizations according to the mode selected.
- entry: the entry point of our application, it can be one or more files. Defaults to ./src/index.js
- output: here we can configure the way Webpack emits results. For example, the name of the output file and the directory it is saved on.
- module: it allows us to apply configuration to how modules are handled.
- rules: with rules we can apply loaders to modules, configure parser options among other things.
Customizing output file name:
If we wanted to change the name of the output file (defaults to main.js) we could add the following configuration into the webpack.config.js file.
1output: {2 filename: '[name].[contenthash].js',3 path: path.resolve(__dirname, 'build'),4}This bracket pair syntax is called substitutions. The substitution part will be filled with the default name which is main, and the [contenthash] substitution will be filled with a unique hash that will be based on the content of an asset. This hash will be different every time a build is run and webpack detects any changes on any file.
This is very useful for caching purposes, because the hash will be the same as long as there are no changes on the content. This means that files produced by Webpack will remain cached by the browsers as long as their content is the same.
Configuring Webpack to support JSX syntax:
To configure Webpack to understand JSX syntax and therefore be able to bundle a React application we need a loader called babel-loader. Remember that loaders are components that Webpack uses to process code.
Let’s add the following piece of code to our webpack.config.js file:
1module.exports = {2 module: {3 rules: [4 {5 test: /\.js$/,6 loader: "babel-loader",7 options: {8 presets: ['@babel/preset-react']9 }10 },11 ]12 }13}This way we are telling Webpack that to every file that ends with .js it will apply the babel-loader in order to convert it to understandable JavaScript. So the code would go through this loader, Babel would transform it and return it in a way that is understandable for Webpack.
To make that code snippet work, we would need to install the following dev-dependencies:
@babel/core (the motor of babel), babel-loader and @babel/preset-react
You can install them via npm or yarn:
- npm i -D @babel/core babel-loader @babel/preset-react
- yarn add -D @babel/core babel-loader @babel/preset-react
Configuring Webpack to support css files:
In order for Webpack to be able to bundle css files, we need to specify a new rule. To accomplish this we need a couple of dependencies which are css-loader and style-loader.
- npm i -D css-loader style loader
- yarn add -D css-loader style loader
Once installed, we add the following piece of code to the webpack.config.js file:
1module: {2 rules: [3 {4 test: /\.css$/,5 use: ["style-loader", "css-loader"]6 } 7 ]8}The style loader is what helps Webpack to understand css syntax, and the css-loader is useful to interpret @import and url() expressions inside css files.
⚠️ Important note: loaders are executed in order.
Meaning that the code would go through the style-loader first and then through the css-loader.
Configuring Webpack to support images:
If we want Webpack to be able to bundle assets like images, we have to make use of a built-in module for assets. To do this, we add the following code to the webpack.config.js file:
1module: {2 rules: [3 {4 test: /\.(png|svg|jpg|jpeg|gif)$/i,5 use: "asset/resource"6 }7 ]8}This way we tell Webpack to process files that match those extensions and add them to the output directory.
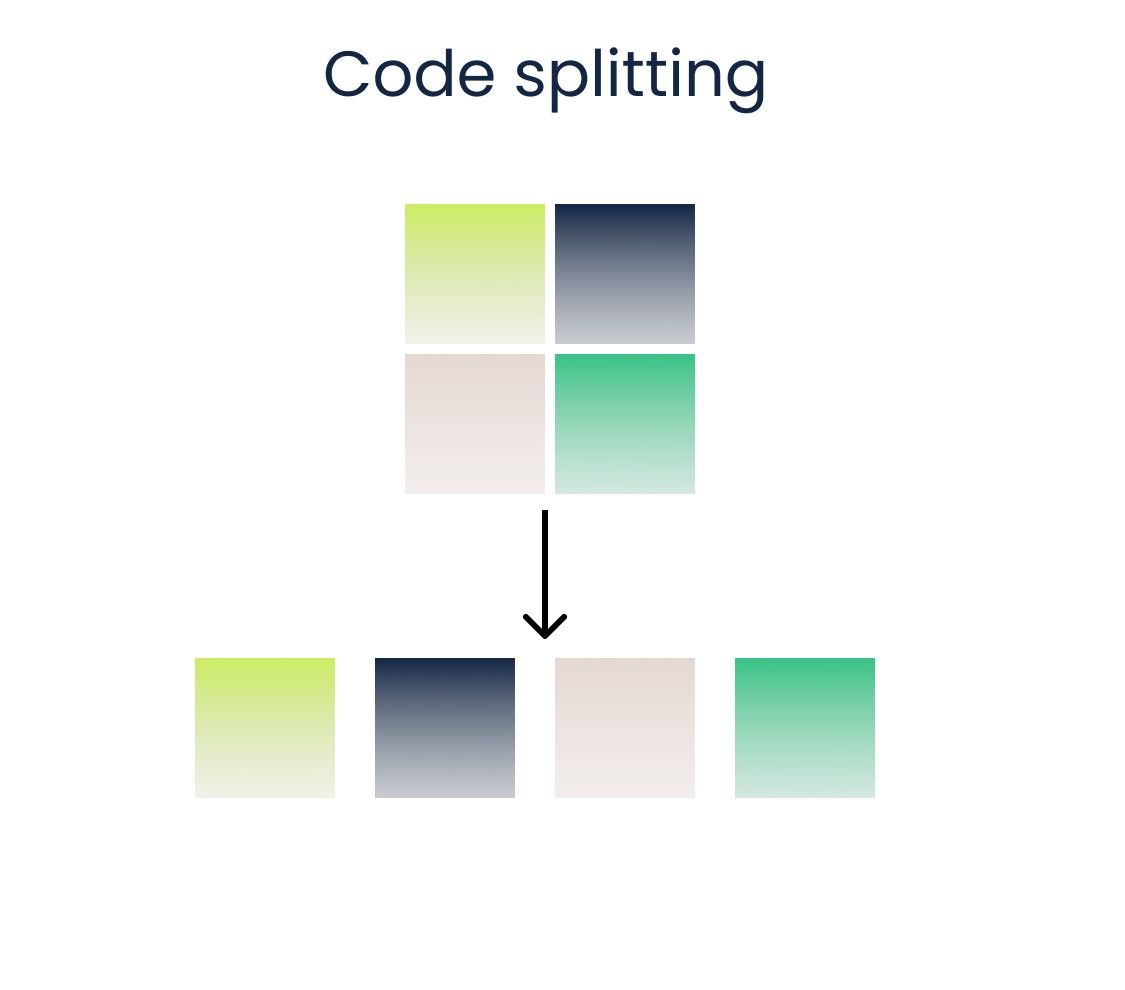
Code Splitting in Webpack
This is one of the most important features of Webpack, it allows us to split the code in different pieces so it can be loaded on demand or in parallel. It helps in generating smaller bundles that will result in better load times by controlling resource load prioritization.
One way of code splitting is having multiple entry points on the webpack.config.js file, for example:
1entry: {2 main: './src/main.js',3 someModule: './src/some-module.js'4}And then on the output option we can have:
1output: {2 filename: '[name].bundle.js',3 path: path.resolve(__dirname, 'dist')4},This will result on two files generating on the dist folder at build time which will be named:
- main.bundle.js
- someModule.bundle.js


Conclusion
To sum up, Webpack and Babel are great tools that allow us to have more control over our applications while making the development process more effective.
If you want to read more you can reference the documentation:
Also, feel free to check out our repository with the examples we covered above.


Name: Iván García
Date: May, 2022
Testimony: I found this topic really interesting because these are tools that are used in the background by the technologies we use on our day to day such as React. It is always good to learn new ways to optimize our code and improve our applications.